Beef and Cheese Chimichangas
Introduction
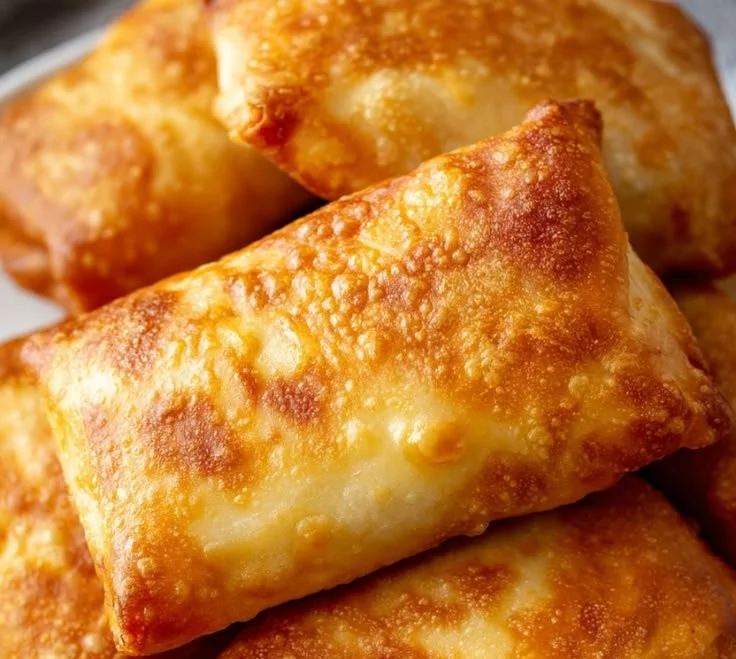
The first bite — a golden, crackling shell gives way to a steamy, savory center: melted cheddar stretching from the warm tortilla, seasoned beef releasing a whisper of cumin and garlic, and a faint tang of salsa brightening every mouthful. Imagine the aroma of browned beef and toasty flour drifting through the kitchen, the contrast of crunchy exterior and creamy refried beans inside, and the comfort that arrives the moment you hold one in your hands. These chimichangas are the kind of food that calms the week’s chaos and gathers people around the table.
Whether you’re feeding a hungry weeknight crowd, prepping portable party food, or craving a cozy weekend meal, these beef and cheese chimichangas deliver—crispy, cheesy, and utterly satisfying. For a closer look at variations and plating ideas, see this detailed chimichanga guide that inspired some of the flavor combinations below.
Dish Snapshot
- Prep Time: 15 minutes
- Cook Time: 15–20 minutes (oven) or 8–12 minutes (skillet)
- Total Time: 35 minutes (oven method)
- Servings: 6 chimichangas
- Difficulty Level: Easy — great for cooks of any skill level
Nutrition Highlights
Estimated nutrition per serving (one chimichanga). These are approximate values calculated from ingredient-data sources such as USDA FoodData Central and presented in line with general guidance from health organizations like the Mayo Clinic and CDC. Use these as a guideline — exact values will vary by ingredient brands and portion sizes.
- Calories: ~545 kcal
- Protein: ~27 g
- Carbohydrates: ~36 g
- Fat: ~32 g
- Fiber: ~3 g
- Sodium: ~900 mg (variable; can be reduced with low-sodium options)
Notes: The recipe is protein-forward because of the ground beef and cheese; it is moderately high in fat and sodium (mainly from cheese, seasoned taco mix, and refried beans). To reduce sodium and saturated fat, use lean ground beef or turkey, reduced-fat cheese, low-sodium beans, and a low-sodium seasoning blend. Nutrition estimates are based on USDA composition tables and general serving-size data; consult your personal healthcare provider or registered dietitian for advice tailored to your needs.
Perfect For…
- Casual dinner nights when you want rich, hand-held comfort food.
- Game-day spreads and potlucks—chimichangas travel well and please a crowd.
- Meal-prep: make a batch and freeze extras for quick, satisfying lunches.
- Celebrations and fiesta-style gatherings where bold flavors and shareable plates shine.
Preparation Guide
Ingredients
- 1 lb ground beef (85% lean recommended)
- 1 small onion, finely diced
- 2 cloves garlic, minced
- 1 packet (1 oz) taco seasoning (or 1½ tbsp homemade mix)
- ½ cup salsa
- 1 cup refried beans
- 1½ cups shredded cheddar cheese or Mexican blend
- 6 large flour tortillas (burrito-size)
- 2 tbsp vegetable oil (for brushing or frying)
Optional ingredients and substitutions
- Swap ground beef for ground turkey or shredded rotisserie chicken for a lighter protein.
- Use black beans in place of refried beans, or try refried pinto beans for traditional flavor.
- For a lower-carb option, wrap in large romaine leaves or low-carb tortillas.
- Make it vegetarian by using seasoned crumbled tofu or spiced lentils in place of beef.
- Try pepper jack for extra heat, or Monterey Jack for a milder melt.
If you want a few quick beef-handling tips that work well with this recipe, check out this quick beef tips and rice recipe for practical ideas.
Step-by-step Instructions
- Cook the beef filling: Heat a large skillet over medium heat. Add the ground beef and diced onion; cook, breaking the meat apart, until the beef is browned and the onion is tender (about 6–8 minutes).
- Drain excess grease: Carefully pour off or blot with paper towels to remove excess fat.
- Add aromatics and seasoning: Stir in minced garlic, taco seasoning, and salsa. Reduce heat and simmer 3–4 minutes, stirring so flavors meld. Taste and adjust seasoning.
- Preheat oven (if using oven method): Preheat oven to 400°F (200°C).
- Assemble chimichangas: Lay one tortilla flat. Spread about 1–2 tablespoons of refried beans down the center. Top with a generous scoop (about ⅓ cup) of the beef mixture and a handful (about ¼ cup) of shredded cheese. Fold in the sides and roll up tightly, sealing the seam underneath. Repeat for remaining tortillas.
- Cook the chimichangas — choose a method:
- Oven method (healthier): Place chimichangas seam-side down on a baking sheet lined with parchment. Brush each lightly with vegetable oil. Bake 18–20 minutes, flipping once halfway, until golden and crisp.
- Skillet method (crispier): Heat 2–3 tablespoons of oil in a skillet over medium heat. Place chimichangas seam-side down and cook 2–3 minutes per side until golden and crisp; drain on paper towels.
- Rest and serve: Remove from heat and let rest 2 minutes before serving. Add toppings such as sour cream, guacamole, shredded lettuce, pico de gallo, or extra salsa as desired.
Practical tips
- Avoid overfilling tortillas — that makes sealing and frying/baking difficult.
- If assembly is slow, keep tortillas wrapped in a damp towel to stay pliable.
- To ensure even crisping in the oven, brush an even coat of oil and don’t overcrowd the pan.
- Check internal temperature of beef to reach at least 160°F when using raw ground beef (USDA recommended safe cooking temperature).
Best Pairings
- Classic combos: Serve with Mexican rice, refried beans, and a side of fresh pico de gallo.
- Lighter sides: A crisp mixed greens salad with lime vinaigrette balances richness.
- Sauces: Offer sour cream, guacamole, salsa verde, and a smoky chipotle crema for guests to customize.
- Beverages: Pair with a cold Mexican lager, horchata for a sweet contrast, or a bright citrusy iced tea.
- Snack/Party style: Halve chimichangas and serve with toothpicks and small bowls of dipping sauces for finger-food friendly portions.
Shelf Life & Storage
- Room temperature: Do not leave cooked chimichangas at room temperature for more than 2 hours (per food safety guidance).
- Refrigeration: Store cooled chimichangas in an airtight container in the refrigerator for up to 3–4 days. Reheat in a 350°F oven until warmed through to preserve crispness.
- Freezer: Wrap individually in foil and freeze up to 2–3 months. Reheat from frozen in a 350–375°F oven (20–30 minutes) until hot throughout.
- Reheating tips: For best texture, reheat in the oven or an air fryer to restore crispness; microwaving will warm them but soften the shell.
Chef’s Advice
- Best meat choice: 80–85% lean ground beef gives a good balance of flavor and moisture—leaner cuts are drier, fattier blends produce more grease.
- Texture balance: A small amount of refried beans adds creaminess and helps the filling hold together; don’t overdo liquids or the tortilla will become soggy.
- Cheese timing: Add cheese during assembly so it melts into the filling during cooking—too much cheese on the outside can burn.
- Browning cues: For skillet cooking, golden-brown color and a firm shell indicate doneness; if oil is smoking, reduce heat.
- Oil vs. oven: Brushing and baking yields crisp results with less oil; shallow frying produces the classic deep-fried texture but increases fat content.
Fun Flavor Ideas
- Spicy Southwest: Add chopped green chiles, pepper jack cheese, and a chipotle-lime crema.
- BBQ Beef & Cheddar: Mix shredded beef with smoky BBQ sauce and sharp cheddar; top with pickled red onions.
- Veggie-forward (Vegetarian): Use seasoned crumbled tempeh or black beans, roasted peppers, onions, and a blend of pepper jack and Monterey Jack.
- Gluten-free: Use GF flour tortillas or make a corn-based version rolled in larger textured corn tortillas—note texture and foldability will differ.
- Breakfast chimichanga: Fill with scrambled eggs, breakfast sausage or chorizo, potatoes, and cheese; serve with salsa verde.
All Your Questions Answered
Q: Can I make these ahead and reheat for a party?
A: Yes—assemble and refrigerate up to 24 hours, then bake just before serving to crisp. You can also fully cook, freeze, and reheat in the oven from frozen.
Q: What’s the healthiest swap without losing flavor?
A: Use lean ground turkey, reduced-fat cheese, low-sodium beans, and bake instead of frying to cut fat and sodium while keeping robust flavor.
Q: My chimichangas get soggy—what am I doing wrong?
A: Overly wet fillings or too much salsa/refried beans can cause sogginess. Use a modest amount of salsa and allow the beef mixture to simmer until slightly reduced before assembling.
Q: Can I use corn tortillas?
A: Corn tortillas are less flexible and may crack when rolling; warm them thoroughly and consider double-wrapping or using larger, softer corn tortillas to reduce breakage.
Q: How do I keep the seam sealed during cooking?
A: Place chimichangas seam-side down on the baking sheet or skillet first. Brushing a little oil on the seam and tucking ends tightly helps keep them closed.
Conclusion
Give this beef and cheese chimichanga recipe a try on your next cozy night in or casual gathering—crispy on the outside, melty and seasoned on the inside, they reward a little effort with big flavor. For another home-cook take on beef chimichangas check this trusted version from Beef and Cheese Chimichangas Recipe – The Fervent Mama, and if you want a classic community-tested approach see this family favorite at Beef Chimichangas Recipe – Allrecipes. If you make them, share your photo and tips—I’d love to hear how you customized the filling or what dipping sauces stole the show.