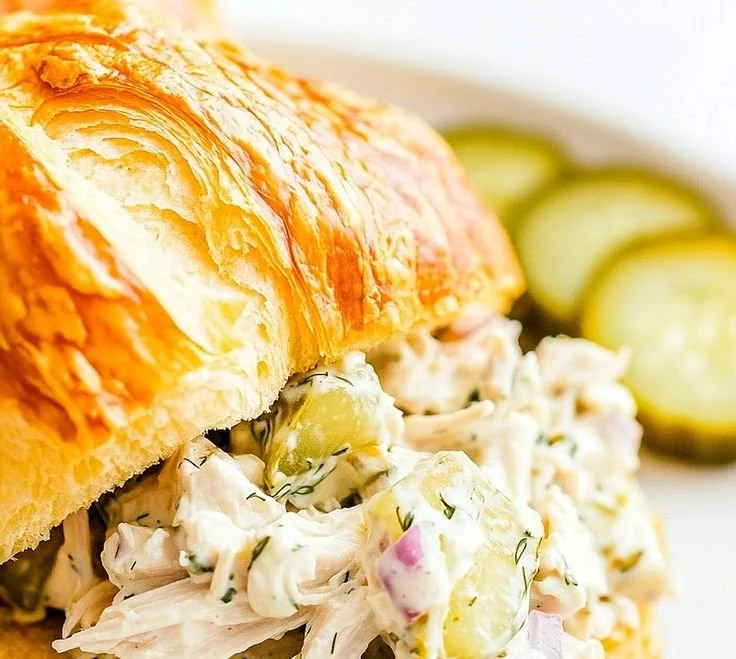
Brie & Pear Grilled Cheese Sandwich
There’s a small, hazy magic that happens when ripe pear meets creamy Brie in between two slices of buttered bread: the kitchen smells like caramelized fruit and warm butter, the first bite offers a silkily melted center that stretches just so, and the crisp exterior gives a satisfying contrast to the tender pear. This sandwich tastes like a cozy autumn afternoon and a little celebration at the same time — comforting, slightly fancy, and instantly uplifting.
If you want a simple upgrade to the everyday grilled cheese for a weekend brunch, a quick date-night snack, or something special to bring to a casual gathering, this Brie & Pear Grilled Cheese is your answer. For a playful pairing idea, try pairing it with a bowl of tomato soup or one of my smaller sandwich variations for a crowd: mini grilled cheese with tomato soup.
At a Glance
- Prep Time: 5 minutes
- Cook Time: 6–8 minutes
- Total Time: 11–13 minutes
- Servings: 1 sandwich (scale as needed)
- Difficulty Level: Easy — perfect for cooks of all levels
Nutrition Highlights
Estimated nutrition per serving (one sandwich). These estimates were calculated using USDA FoodData Central values and reviewed against general guidance from trusted health sources such as the Mayo Clinic and CDC for portion context.
- Calories: ~530 kcal
- Protein: ~18 g
- Carbohydrates: ~46 g
- Sugars: ~12–15 g (pear + honey)
- Dietary Fiber: ~3–4 g
- Total Fat: ~30 g
- Saturated Fat: ~15 g
- Sodium: ~550 mg (varies with bread and added salt)
Notes: Nutrition can vary depending on bread type, exact cheese portion, and the amount of butter/honey used. If you’re tracking sodium, choose low-sodium bread and reduce butter. For lower calories, use lighter bread and reduce the cheese portion. (Sources: USDA FoodData Central; Mayo Clinic guidance for portion and fat recommendations.)
Why You’ll Love It
- Irresistible contrast: The crisp, buttery bread frames a molten, creamy Brie and a lightly sweet, crisp pear. The textures sing together.
- A quick touch of elegance: It feels special enough for guests but is simple and fast enough for weeknights.
- Nostalgia + novelty: Reminiscent of classic grilled cheese while offering a grown-up fruit-and-cheese twist that evokes seasonal gatherings (especially lovely in fall or winter).
- Flexible and shareable: Scale up for a brunch platter or keep it solo for a luxe snack.
How to Make Brie & Pear Grilled Cheese Sandwich
Ingredients
- 2 slices of bread (sourdough or country-style bread works best)
- 2 oz (about 56 g) Brie cheese, sliced or torn into pieces
- 1/2 medium pear, thinly sliced (Bosc or Anjou recommended)
- 1 teaspoon honey (plus extra to drizzle, optional)
- 3–4 fresh thyme leaves, or a small pinch of chopped fresh thyme (or 1/8 tsp dried)
- 1 tablespoon unsalted butter (for grilling; adjust as needed)
Optional ingredients and substitutions:
- Prosciutto slices (1–2 thin slices) for a savory-salty contrast
- Arugula or baby spinach for a peppery bite
- Fig jam or apricot preserves instead of honey for a richer sweetness
- Vegan option: use dairy-free Brie-style spread and olive oil or vegan butter; swap bread to gluten-free if needed
Step-by-step Instructions
- Heat a skillet over medium heat.
- Butter one side of each slice of bread.
- Place one slice of bread, buttered side down, onto the skillet.
- Layer Brie cheese slices and pear slices on top.
- Drizzle honey and sprinkle fresh thyme over the pear slices.
- Top with another slice of bread, buttered side up.
- Cook until the bottom slice is golden brown, then flip and cook the other side until golden and the cheese has melted.
- Remove from skillet, slice, and serve warm.
Practical tips for the method:
- Keep the heat at medium: too high and the bread will brown before the cheese melts; too low and the sandwich will be soggy.
- If your Brie is very thick, thinly slice it so it melts more quickly and evenly.
- Press gently with a spatula after step 6 to promote even contact and melting.
- If the cheese isn’t melting after the bread is golden, lower the heat and cover the pan for 30–60 seconds to trap heat and finish melting.
Best Pairings
- Serve alongside a small arugula salad dressed in lemon vinaigrette for brightness.
- Pair with a warm cup of black tea or a light white wine like an unoaked Chardonnay for a cozy brunch.
- For a casual platter, offer a bowl of mixed olives, some thin prosciutto, and extra honey for drizzling.
- For another fun combo, try this sandwich with a warm, small pretzel-style bread twist: pretzel mini grilled cheese ideas.
Storing Leftovers
- Room temperature: Not recommended to leave a Brie & pear sandwich at room temperature for more than 2 hours because of the soft cheese.
- Refrigeration: Store wrapped in foil or in an airtight container for up to 3–4 days. Reheat in a skillet or oven for best texture.
- Freezer: You can freeze wrapped sandwiches for up to 1 month. Thaw in the refrigerator overnight and reheat in a 350°F oven until warmed through and the crust is crisp.
- Reheating tip: Use a skillet over medium-low heat and cover briefly, or reheat in a 350°F oven for 8–10 minutes to avoid sogginess and preserve crispness.
Chef’s Advice
- Choose the right Brie: A semi-soft, slightly aged Brie melts beautifully without becoming too runny. If your Brie is very soft, chill briefly before slicing.
- Bread selection matters: Denser country or sourdough holds fillings without collapsing; thinner sandwich loaves can get soggy.
- Control sweetness: Use honey sparingly at first — pears are naturally sweet, and you want balance with the salty, savory Brie.
- Mind the slice thickness: Thin, even pear slices melt into the cheese better and avoid creating pockets of raw fruit.
Creative Twists
- Prosciutto & Fig: Add 1–2 slices of prosciutto and swap honey for fig jam for a sweet-salty gourmet bite.
- Vegan & Gluten-Free: Use a vegan Brie-style cheese and vegan butter; choose a gluten-free bread. Add thin apple slices if pears aren’t in season.
- Herbed Honey & Nuts: Mix a teaspoon of chopped toasted walnuts into the sandwich, and use a thyme- or rosemary-infused honey for extra aroma.
- Savory Twist: Replace pear with thin apple slices and add a sprinkle of cracked black pepper and a smear of Dijon mustard for tang.
All Your Questions Answered
Q: Can I use other fruits besides pear?
A: Yes — thin apple slices (Gala or Fuji) or even fig slices work well. Pear offers a soft, juicy texture that complements Brie especially nicely.
Q: How can I make this sandwich lighter?
A: Use one ounce of Brie, swap to a whole-grain thin-sliced bread, and use just 1/2 teaspoon of butter per side or a butter spray to reduce added fats.
Q: My sandwich browns but the cheese isn’t melted — what did I do wrong?
A: Your heat was likely too high. Lower the burner and cover the pan for 30–60 seconds to trap heat and encourage even melting.
Q: Is this safe for kids?
A: Yes, generally, but be mindful of portion sizes and any allergy to dairy. For young children, cut into small, manageable pieces.
Q: Can I prepare sandwiches ahead for a party?
A: Assemble them up to a day ahead and refrigerate ungrilled; grill just before serving to maintain crispiness.
Conclusion
Warm, quick, and just a little bit luxurious, the Brie & Pear Grilled Cheese Sandwich is one of those recipes that elevates simple ingredients into a memorable bite. Try it for a cozy brunch, to impress guests without fuss, or as a special weeknight treat — and if you enjoyed this riff on grilled cheese, you might like another creative approach shared by a fellow home cook at Brie & Pear Grilled Cheese Sandwich – Le Petit Eats. For a variation that adds prosciutto and turns up the savory element, check this play on the classic: Brie, Prosciutto, and Pear Grilled Cheese – My Kitchen Love.
Give this sandwich a try, leave a note about your favorite substitutions, and share a photo — I love seeing how readers make recipes their own. Happy cooking!